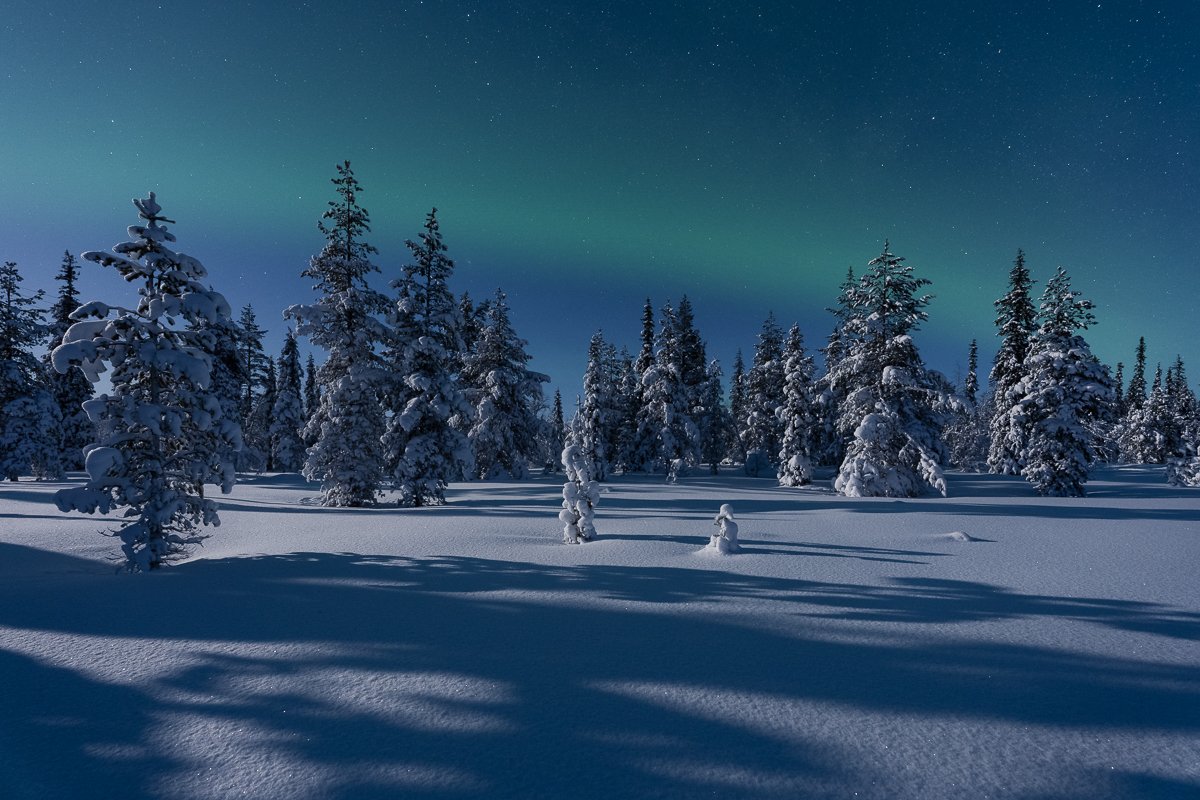
How to photograph the northern lights
There are 10 essential things to consider for successful aurora photography, from gear and camera settings to reading the forecasts, choosing the right location, and preparing and taking pictures.
Gear
You need gear suitable for low-light outdoor photography to photograph the northern or southern lights. What exactly it means? A camera with manual mode and a sensor that doesn't produce too much noise at high ISO (ideally up to 5000). A lens with an aperture f/2.8 or wider. A sturdy tripod. In cold weather conditions, you will also need extra batteries for your camera and lens heater to avoid condensation and frost on the lens.
Be prepared to spend a long time on the location waiting for the aurora and taking pictures. In the cold weather, warm shoes and clothes, foot and hand heaters, hot drinks, and snacks are essential.
Camera settings
You can find detailed information in the related post: Camera settings for aurora photography. In short: use manual camera mode, shoot in RAW, set the white balance to 3500K, switch off image stabilization and long exposure noise reduction, and set a 5-sec shutter delay. Focus manually on a distant star. Start with an aperture of f/2.8, ISO 2500, and 10 seconds shutter speed. As the aurora gets more active, use a faster shutter speed and increase ISO if needed, then adjust settings depending on the results.
Location
The aurora is much brighter than the Milky Way. So, you don't need an absolutely dark sky to photograph the aurora. Find a relatively dark location and ensure light sources will not spoil your composition.
What is more important it's to find a location with a clear sky. The best approach is to have a few alternative places to go. It will increase your chances of picking one with the best weather and clear sky forecast when the geomagnetic activity is high.
Also, when looking for locations, try to find ones with an open view to the north, northwest, and northeast horizon. It will increase your chances of capturing the northern lights no matter where in the sky they appear.
Aurora forecast
First, check the forecast to find if the predicted geomagnetic activity is high enough to see the aurora in your location. It can also tell you where the aurora will most likely appear in the sky, overhead, or only on the north horizon. Read how to find what Kp you need to see the aurora.
Usually, the best time for the aurora is around midnight, between 10pm and 2am. But check the 3-day Kp forecast in advance. The highest geomagnetic activity may be expected earlier or later in the night. Sometimes you can see the aurora as early at night as 6-7pm or almost in the morning at 5-6am.
Weather conditions
Suppose you have found a few alternative locations and know the aurora forecast. Now it's time to check the weather forecast for a clear sky during the peak of geomagnetic activity. Use the weather forecast showing the percentage of the sky covered with clouds.
Pay attention to wind and temperature forecasts. It can be freezing in the north at night when the sky is clear. And you may spend a few hours waiting for the aurora and taking pictures. Check the forecast and prepare your gear and outfit accordingly.
The wind forecast is also can help. If it's calm, you can capture a reflection. If it's windy, avoid trees and other objects in the frame that can become blurry in the wind.
Composition
It's the most critical and challenging part of the aurora photography. Adding attractive foreground and mid-ground elements in your composition is essential. But it takes a lot of work to compose your image at night, mainly when the northern lights appear and are moving fast in the different parts of the sky.
The best way is to find a few compositions beforehand, maybe even during the daytime. Then you can use the most suitable one when the northern lights appear in the sky.
Focusing
Switch to the manual focus mode and focus on a bright star. To be more precise, use the focus magnifier option in your camera. Then lock the focus. Some lenses have a special switch for that, but if your lens doesn't, you can fix the focus ring with masking tape.
Taking pictures
When the aurora is inactive, and you use about 10-sec exposure, you can take a single picture. Then wait until the shape of the aurora changes and take another one. And so on. When the aurora is active and moving very fast, capturing the form you like is difficult. Take multiple shorts instead and choose the pictures you like later. The best way to do it is to set your camera in continuous shooting mode when it takes 5 or 10 shots in a row.
Adjust exposure
When adjusting the exposure, consider the brightness of the northern lights and how fast they are moving in the sky. When the aurora becomes more active, you want to increase the shutter speed to freeze the motion and capture those nice-looking rays. Usually, the more active aurora is also much brighter. So, there is no need to increase ISO proportionally.
Also, keep an eye on the histogram. When the aurora is active, you can blow the whites, usually the brightest pink low edge of the aurora.
Foreground shot
Before you start taking pictures of the northern lights or right after that, take a picture or a few pictures of the foreground with the longer shutter speed, lower aperture, and lower ISO. You can also focus on the foreground for this short but remember to refocus on the star again. Thus you'll have a much cleaner and sharper image of the foreground. Then you can blend it with the aurora image in post-processing.

